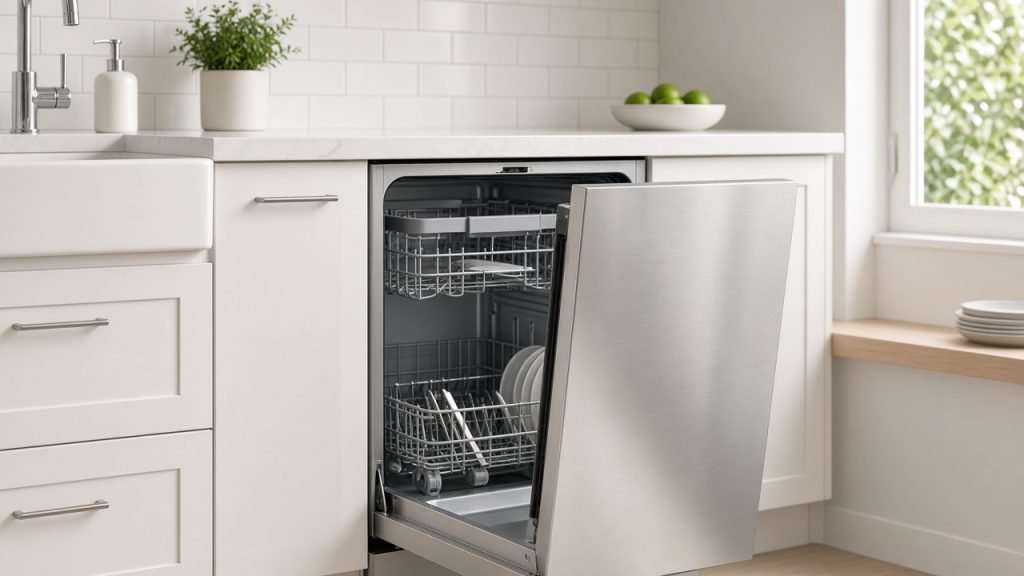
A dishwasher that fills, runs, then leaves standing water in the bottom of the tub is usually not a mystery—it is a drainage problem. Filters, knock-out plugs, and hoses get plenty of attention, but the drain pump itself is the part that actually moves waste water into the sink plumbing. When bearings seize, the impeller chips, or the check valve sticks, you hear a hum, a grind, or a sudden silence at the drain phase of the cycle.
This guide walks through a practical, tool-light replacement of a typical under-counter dishwasher drain pump. It is written for homeowners who are comfortable flipping a breaker, sliding an appliance forward a few inches, and working carefully with wiring connectors. You do not need a full workshop; you do need patience, a towel stack, and a clear plan so you do not mix up inlet and outlet hoses.
Confirm the pump is the real problem
Before you order parts, rule out the easy failures. Remove the lower rack and twist out the cylindrical filter tower. Rinse food debris under the tap and inspect the fine mesh screen beneath. A clogged filter can mimic a failed pump and costs nothing to clean. Next, run a short drain-only cycle if your model offers one, or start a normal wash and cancel after a minute so the unit drains. Listen closely at the front toe-kick: a healthy pump makes a steady whir for twenty to forty seconds. A loud buzz with no water movement often points to a jammed impeller. Complete silence with an error code related to drainage points to power or a failed winding.
Also check the air gap on the sink deck (if your home uses one) and the garbage disposal knockout plug if the dishwasher was recently installed. Many “new install” callbacks are simply a plug that was never removed. Only after those checks should you commit to replacing the pump.
Tools, parts, and safety
Most modern dishwashers use a dedicated drain pump bolted to the plastic sump or clipped into a molded housing under the tub. Confirm the exact part number from the model tag on the door frame edge—not from a generic photo online. Buy a pump that includes the gasket or O-ring; reusing a flattened seal is a reliable way to create a slow leak onto the kitchen floor.
- Phillips and nut drivers, plus a Torx set for some European brands
- Channel-lock pliers for spring clamps
- Needle-nose pliers for wiring locks
- Small flat screwdriver for retaining clips
- Shop towels, a shallow pan, and a flashlight
Shut off power at the breaker, not only at the control panel. If the unit has a dedicated shutoff under the sink, close the water valve as well so an accidental bump does not spray the cabinet. Pull the dishwasher out carefully after removing the lower toe-kick and the mounting screws into the countertop. Keep the drain hose connected if possible so you do not flood the floor while sliding the chassis.
Accessing the drain pump
On many brands you access the pump from below after laying a towel and gently tipping the empty dishwasher onto its back. Other designs let you reach the pump from the front with the toe-kick removed and the insulation blanket peeled back. Photograph every hose and connector before you disconnect anything. Mark the drain outlet hose with a piece of tape so you do not reverse it with a recirculation line.
Release the spring clamp, twist the hose free, and catch residual water in the pan. Unplug the two- or three-pin electrical connector; some housings have a tiny locking tab that must be lifted before the plug slides off. Remove the mounting screws or rotate the pump counterclockwise in its bayonet mount. If the pump is sealed to the sump with a rubber grommet, rock it gently—prying hard can crack the sump, which is a far more expensive repair than the pump itself.
Inspect the sump and impeller area
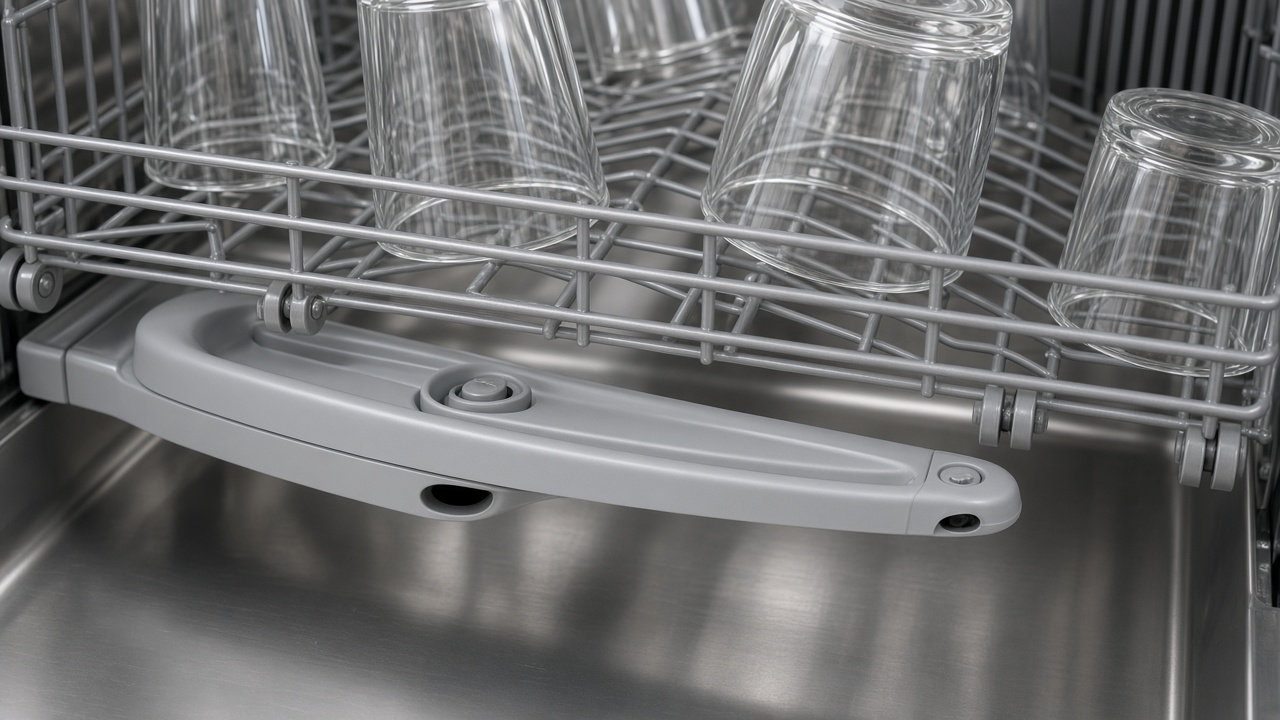
With the old pump out, shine a light into the sump opening. Pull out glass shards, fruit pits, or label glue that commonly jam impellers. Spin the old impeller by hand: grit or a broken vane confirms the diagnosis. Wipe the sealing surface, then dry-fit the new gasket so it sits evenly without pinching.
Install the new pump in the reverse order of removal. Hand-start screws to avoid cross-threading plastic bosses. Reconnect the wiring until you feel a positive click. Refit the drain hose fully onto the barb—halfway seating is a classic cause of intermittent leaks that only appear mid-cycle when pressure rises.
Test before you push the unit back
Restore power and water with the dishwasher still pulled slightly forward so you can watch the underside with a flashlight. Run a rinse-and-drain cycle. Confirm that water leaves the tub promptly and that no drips form around the pump seam after five minutes. Listen for abnormal vibration; a loose mounting screw can amplify noise even when drainage is fine.
Only after a clean test should you slide the unit home, reinstall mounting screws, and replace the toe-kick. Level the feet so the door closes evenly—tilt can confuse float switches and create new error codes that look unrelated to the pump work you just finished.
Preventive habits that extend pump life
Scrape plates, but skip the pre-rinse obsession that sends grease downstream in one sticky wave. Empty the filter weekly in busy kitchens. Avoid overloading the bottom rack so utensils cannot drop into the sump through the heating element gap. Once a month, run a hot empty cycle with a dishwasher-safe cleaner to limit biofilm that thickens around the check valve.
If your household washes a lot of starchy foods—rice, oatmeal, mashed potatoes—consider a finer secondary screen if the manufacturer offers one. Soft food paste is one of the top reasons brand-new pumps fail within months of replacement: the motor is fine, but the impeller cavity packs solid.
When to stop and call a technician
Stop DIY work if you find a cracked sump, melted wiring insulation, or a control board that refuses to energize the new pump. Also stop if your unit integrates the drain pump into a complex circulation assembly sold only as a module; forcing a partial repair can void remaining coverage. Document model and serial numbers before you call so parts can be quoted accurately.
Replacing a drain pump is one of the most satisfying appliance repairs because the before-and-after is obvious: dirty water leaves, the floor stays dry, and the evening cycle finishes without a puddle. Take photos, work methodically, and treat the sump plastic with respect—and you can usually finish the job in under two hours.
Quick troubleshooting checklist after replacement
- Error returns immediately: reseat the pump connector and inspect for bent pins.
- Slow drain only: clear the sink-side hose and air gap before blaming the new part.
- Leak at the pump: shut down, reseat the gasket, and confirm the clamp position.
- Loud scrape: remove the filter again—debris may have fallen in during reassembly.
- Works once then fails: check for a partial clog that shifts under pressure.
Keep the old pump for a week until you are confident the repair holds through several full soil loads. Label a zip bag with the date and model so future you knows exactly what was changed. That small habit turns a one-off fix into a reliable maintenance record for the appliance.
Choosing quality replacement parts
OEM pumps usually cost more but match impeller height, magnet strength, and connector keying exactly. Reputable aftermarket units can work well when they publish clear compatibility lists and include fresh seals. Avoid no-name listings that show a generic photo for dozens of unrelated models. Check return windows, because a pump that arrives with a cracked volute is useless the moment you open the box.
While you have the machine open, inspect the drain hose for kinks where it enters the cabinet and replace brittle clamps. A perfect pump paired with a collapsed hose will still leave water in the tub and waste the afternoon you spent on the repair.
Finally, reset any drain-related fault codes according to the tech sheet—often taped inside the toe-kick or door. Some boards need a completed successful drain cycle before they clear a stored error. After that, return the appliance to normal use and enjoy quiet, empty-tub finishes again.